If you kitesurf I’m sure you have or will run into this problem at least once. Learning and progressing your riding naturally comes with a few extra spills. Thankfully, punctures are super easy to fix. It’s just like riding a bike (literally) – bike punctures.
Kite bladders are just like massive bike inner tubes. If you can fix a bicycle puncture then you can fix a kite puncture no problem.
- Inflate your kite to the normal pressure.
- Locate the puncture – This is the hardest part and can drive you crazy! Use a sponge with soapy water and run it over the leading edge, struts and the valves – Look for bubbles growing.
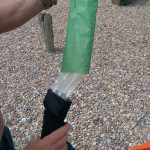
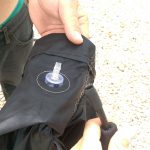
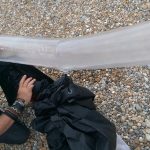
- Once you have located the approximate area, remove the bladder. Depending on where the puncture is located, the best way to remove the bladder differs. You can either undo the end of the leading edge or the strut, then pull the bladder out or alternatively you can remove the bladder through the zip if this is closer. You may need to disconnect the valves and pull them through too. If you are removing the whole bladder DON’T FORGET to tie some line to the end so you can pull it back through later.
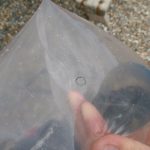
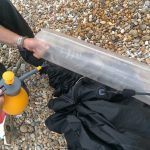
- Once the punctured section of bladder is out, pump it up but DON’T over inflate. Run the sponge over it again or dip it in a bucket of water to find the hole.
- Mark the hole with a biro.
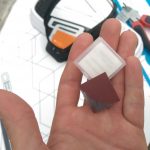
- Clean, dry and lightly sand the hole using the sandpaper in the kit.
- Lay the bladder flat on a hard surface, peel the back off the repair patch and stick it on If it is cold, use a hairdryer to help the glue stick.
- Put the bladder back in as it came out and pull the valves back through the holes. Make sure that no bladder is trapped between the valve base and the kite material.
- Inflate the kite slowly, looking for twists in the bladder. Sort these out if they occur. You might have to take it out and do it again until it is flush.
- Repeat step 2 and leave inflated for a few hours to see if puncture is fixed.

